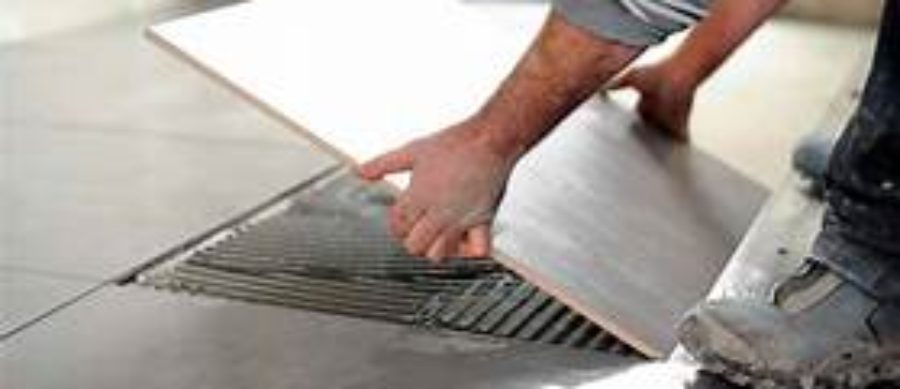
Of all the different types of home flooring, ceramic tile and natural stone flooring are the most common types tile and stone flooring. Installation of tile and stone flooring is labor-intensive, especially ceramic tile. It also takes an experienced installer to lay tile straight and level. When a mosaic or complex design is planned.
Hiring a professional flooring contractor is the best way to ensure that the job is done correctly, If you choose to do the install yourself, you should consider watching a tutorial that shows exactly, step by step detail.
This guide about tile and stone flooring, details the installation process, for those of you who prefer to DIY, the right tools, and experience. Even if you don’t do the install yourself, knowing what is involved will help you discuss the job with contractors as well as make sure it’s being done correctly. To learn more, you should also read our guides about tile floor prices, tile installation cost, care and maintenance, and tile and stone floor buying guide.
Tools
Ceramic tile or natural stone flooring installation include a tape measure, T-square, chalk line, pencil or marker, tile or stone saw and a mortar trowel. If the substrate requires sanding, you will need a sander. Imperfections in concrete should be removed with a chisel and hammer, or concrete sander.
Be sure you have mortar and grout suitable for the material you are installing. You may also want solvent to remove mortar that sets on the top surface of the material.
Preparing
The first step in preparation is to remove any existing flooring, Trim, and Transitions.
Natural stone flooring and Ceramic tile flooring is on top of the material, called the substrate or subfloor, is very important. Concrete and plywood are a common surface on which stone and tile are installed. For stone and tile installation any subfloor that could shrink, expand or move in anyway requires a cement backer unit, or CBU, to provide stability and act as a moisture barrier. Given that most subfloors can shift overtime, using CBU has been a very common practice over the years. However there is a new(ish) product that is rapidly gaining and surpassing CBU in popularity and that is DITRA, manufactured by Schluter.
The substrate must be very level and free of debris. If it is uneven, it may lead to the cracking of the tile or natural stone flooring. making sure the subfloor is flat will pay off by making the stone or tile installation easier.
Installation
Most installers will measure then layout dry tile or stone and snap chalk lines onto the floor to minimize having small odd looking pieces. Usually creating a T pattern with spacing for grout lines.
Mortar should be applied directly to the substrate using a notched mortar trowel. If you do the installation, ask the dealer about the right type of mortar (often called thinset) for tile or stone and what trowel should be used. Many experienced installers will also Key in the back of each tile or stone which allows for better adherence.
For cutting the material, a 10” diamond blade is used. This is the tool of choice for most tile installers. We do not recommend snippers or score and snap tools for good or high quality looks
After setting natural stone flooring or ceramic tile let cure for at least 12 hours or what ever the product recommends, adding the grout, It’s essential that you have the right type of grout. For natural stone, color is often chosen to blend with the stone or to accent the border. With stone the less noticeable the grout is the better. With tile flooring, the grout is an essential part of the visual look. We recommend using a poly grout that does not require sealing. Most other grouts require sealing once a year.


Leave a Reply
Your email is safe with us.